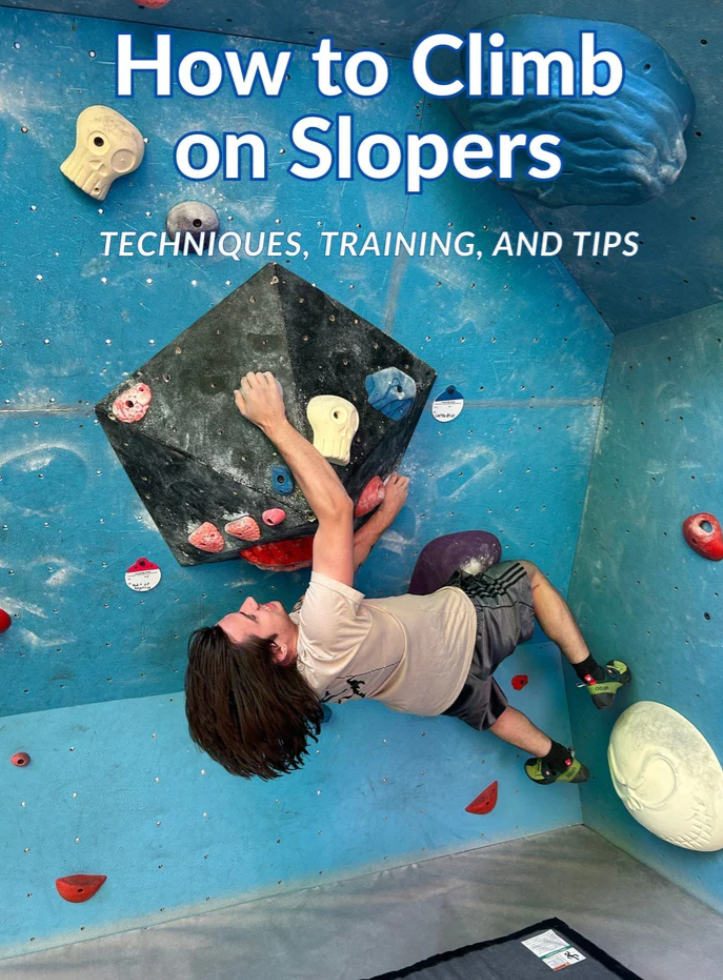

If you’ve ever stood at the base of a bouldering wall, stared up at a set of smooth, rounded slopers, and thought, “How do people even hold those?”—you’re not alone. Slopers are the ultimate humbler in climbing: they look deceptively simple, yet they test your technique, strength, and mental grit more than almost any other hold type. Unlike crimps (which rely on raw finger power) or jugs (which feel like a gift), slopers demand finesse—they’re all about friction, body positioning, and trusting your movement over brute force.
Whether you’re a beginner struggling to keep your hands from slipping or an intermediate climber looking to unlock sloper-heavy routes, building strong grip strength is non-negotiable. Slopers rely on friction and controlled pressure, so a weak grip will leave you slipping mid-route, no matter how perfect your technique. Below are 6 targeted exercises to boost your grip strength—tailored specifically for climbing, with a focus on the open-hand grip and forearm stability that slopers require.
6 Exercises to Improve Your Grip Strength for Climbing
These exercises are designed to build the forearm endurance, pinch strength, and wrist stability you need to hold slopers confidently. They’re split between off-wall training (easy to do at home or the gym) and on-wall practice (to translate strength to real climbing movement). Each exercise includes clear instructions, sets/reps, and pro tips to avoid injury and maximize results.
1. Open-Hand Hang (Sloper-Specific)

This exercise directly mimics the open-hand grip you use on slopers, building forearm endurance and training your hand to maintain pressure without over-gripping. It’s the foundation of sloper grip strength.
- What you need: A hangboard with rounded edges (to mimic slopers) or a large, smooth bar (like a pull-up bar with a thick, rounded grip).
- How to do it: Cup your hands around the bar with an open grip—palms pressed firmly against the surface, fingers slightly spread, wrists neutral (not bent up or down). Hang with your arms straight (but not locked) and your body relaxed (avoid swinging). Focus on pressing into the bar rather than squeezing it.
- Sets & reps: Start with 3 sets of 10–15 second hangs. Rest 45–60 seconds between sets. As you get stronger, increase the hang time to 20–30 seconds per set.
- Pro tip: Keep your shoulders down (away from your ears) to avoid tension in your upper back. If your forearms burn, stop early—overtraining can lead to forearm strains.
2. Pinch Blocks (Pinch Strength Training)

Pinch strength is critical for slopers because it strengthens the muscles that keep your hand closed around rounded holds. Pinch blocks target the thumb and forefinger, which are key for maintaining control on slopers.
- What you need: Pinch blocks (available at climbing gyms or online) or two heavy, smooth objects (like thick books or wooden blocks) that you can grip between your thumb and fingers.
- How to do it: Hold a pinch block between your thumb and the pads of your fingers (not your fingertips). Keep your hand flat (no bending your fingers into a crimp) and your wrist straight. Lift the block and hold it for 5 seconds, then lower it slowly.
- Sets & reps: 3 sets of 10–12 reps per hand. For added difficulty, use heavier blocks or hold the pinch for 10 seconds.
- Pro tip: Don’t squeeze too hard—focus on controlled pressure. This exercise should target your forearms, not your fingers.
3. Wrist Curls & Reverse Wrist Curls (Wrist Stability)
Slopers require stable wrists to maintain the open-hand grip—weak wrist flexors and extensors will cause your wrist to bend, reducing surface contact and friction. These two exercises target both muscle groups to keep your wrists strong and neutral.
- What you need: Light dumbbells (2–5 lbs) or a resistance band.
- How to do wrist curls: Sit on a bench with your forearms resting on your thighs, wrists hanging over the edge, palms facing up. Hold a dumbbell in each hand, then curl your wrists up (toward your forearms) and lower them slowly.
- How to do reverse wrist curls: Same position, but palms facing down. Curl your wrists up (toward your forearms) and lower them slowly—this targets the wrist extensors, which are often neglected but critical for sloper grip.
- Sets & reps: 3 sets of 12–15 reps for each exercise (wrist curls and reverse wrist curls).
- Pro tip: Keep your forearms pressed firmly against your thighs to isolate the wrist muscles—don’t use your biceps to help curl.
4. Heavy Roller Training (Sloper-Specific Endurance)
A heavy roller (like the Lattice Training Roller) is one of the best tools for sloper grip strength—it mimics the rounded shape of slopers and engages the same forearm muscles you use on the wall. It’s gentle on your skin (unlike hangboards) and perfect for building endurance.
- What you need: A heavy roller (or a PVC pipe filled with sand for a DIY option) and weights (to add resistance).
- How to do it: Hold the roller with an open-hand grip (palms pressed against the surface), arms straight. Attach weights to the bottom of the roller (using a rope or carabiner). Slowly curl your wrists up (toward your forearms) and lower them back down—focus on controlled movement.
- Sets & reps: 3 sets of 10–12 reps. As you get stronger, add more weight.
- Pro tip: Keep your grip relaxed—this exercise is about endurance, not brute force. If your hands start to slip, use chalk to keep them dry.
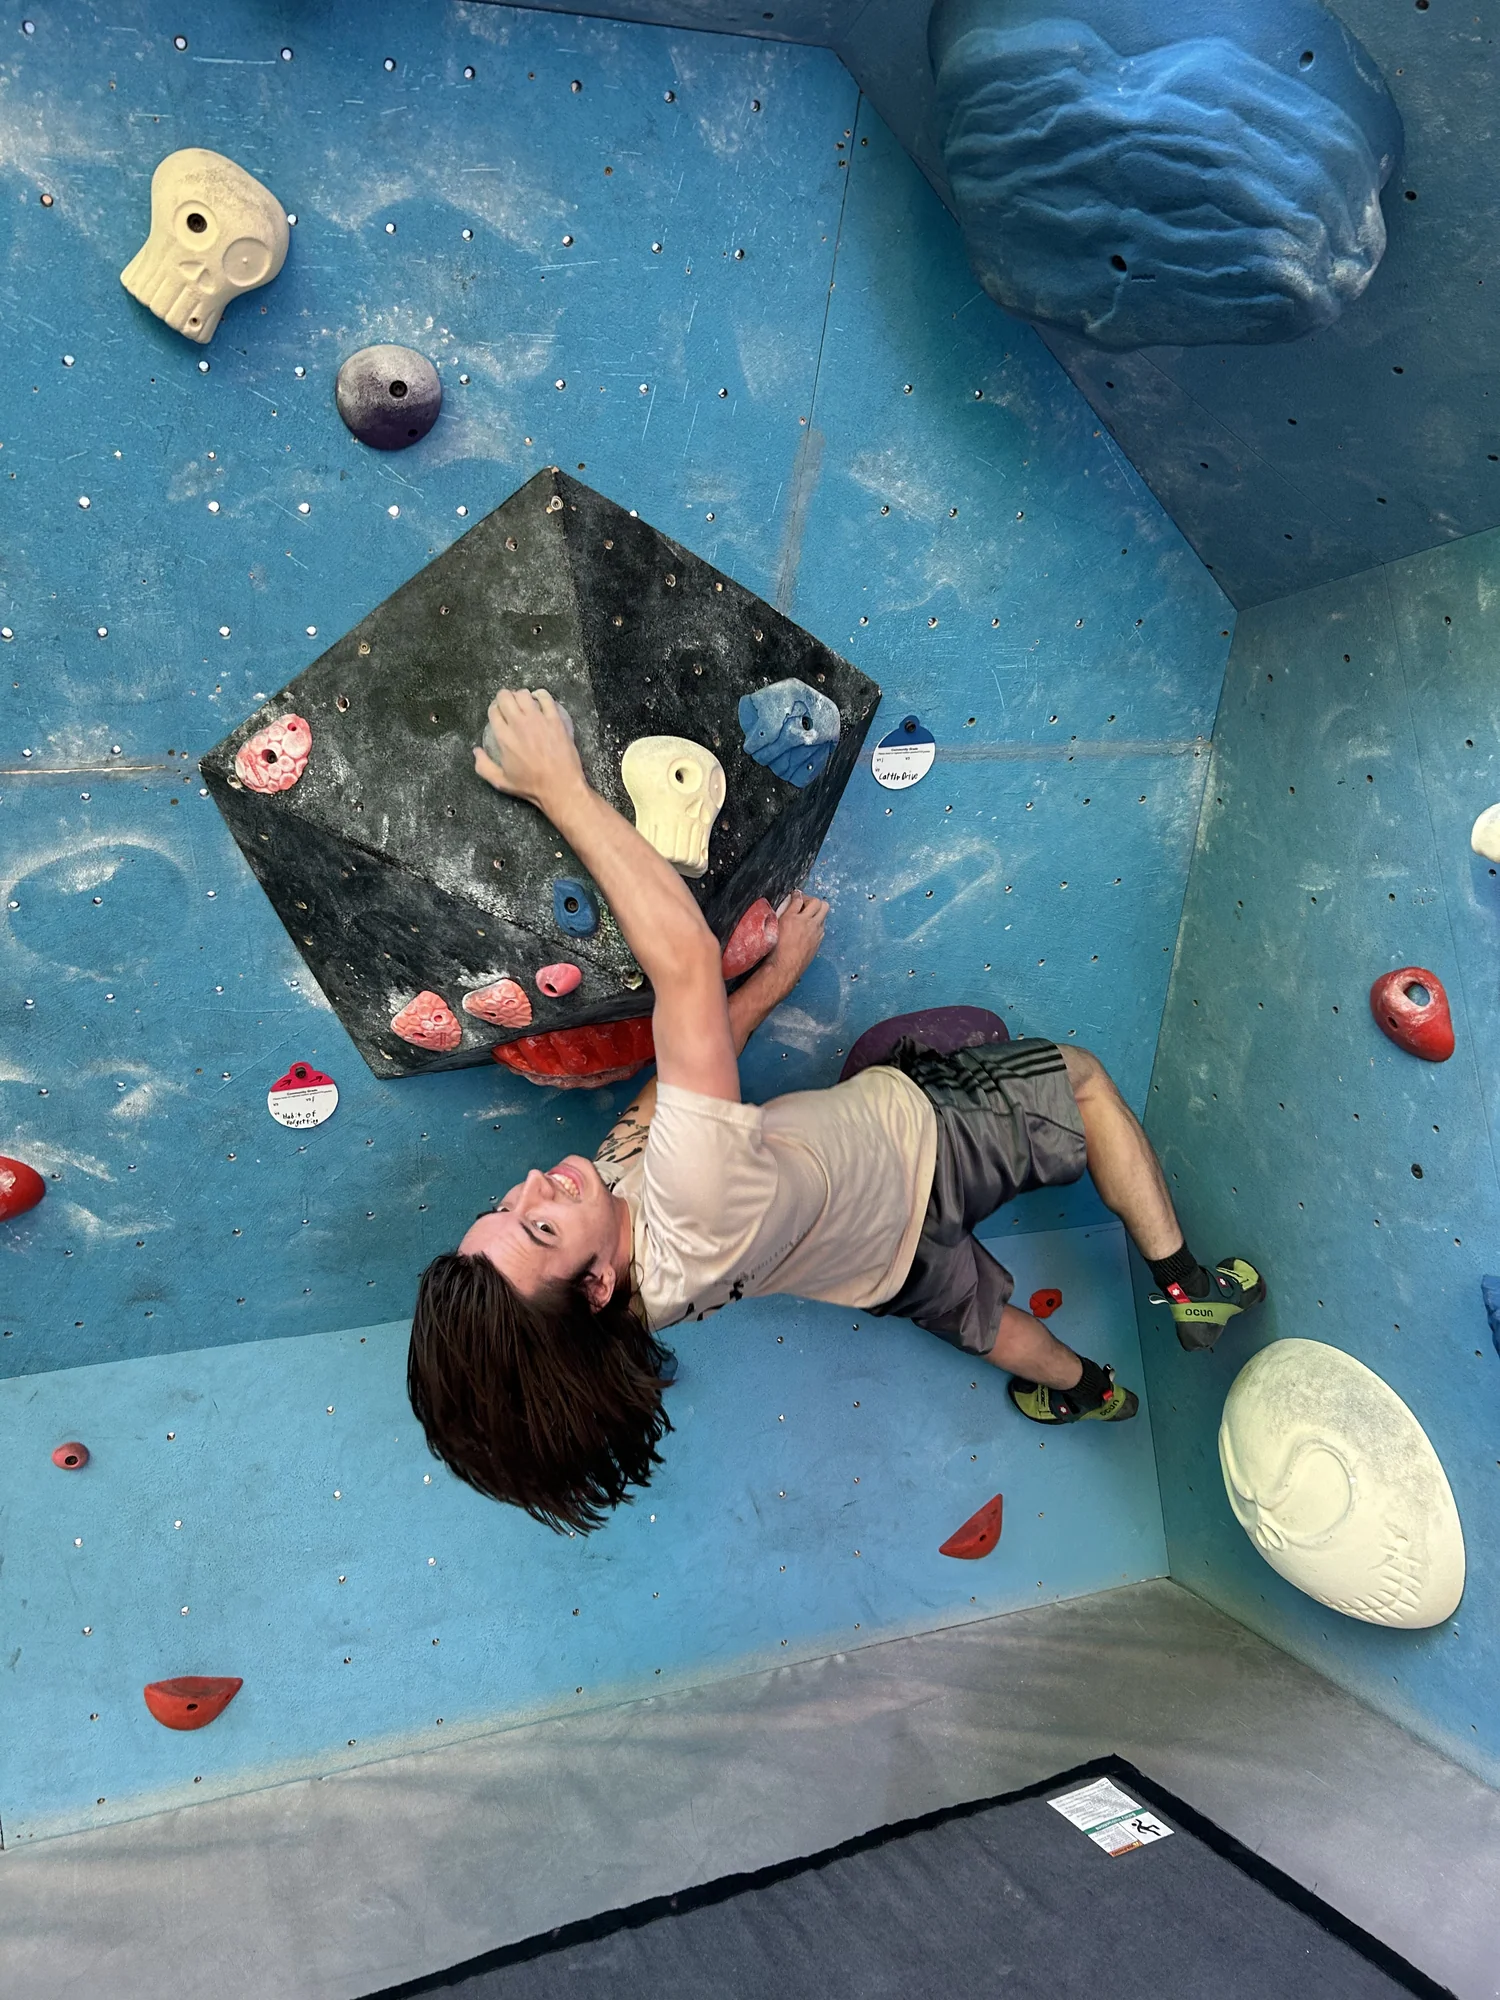
5. Sloper Traverses (On-Wall Practice)
Strength means nothing if you can’t apply it on the wall. Sloper traverses let you practice using your grip strength in a real climbing context, while also refining your body position and footwork.
- What you need: A bouldering wall with a section of slopers (beginner-friendly, V0–V2 difficulty).
- How to do it: Start at one end of the sloper section, grip the first sloper with an open hand, and place your feet on stable footholds. Traverse back and forth along the slopers, focusing on maintaining your open-hand grip, keeping your hips close to the wall, and using precise footwork.
- Sets & reps: 3–4 traverses (each traverse is back and forth), resting 1–2 minutes between sets.
- Pro tip: Don’t rush—focus on smooth, controlled movements. If you slip, stop, reset your grip, and try again. The goal is to build muscle memory, not speed.
6. Farmer’s Carry (Full-Body Grip Endurance)
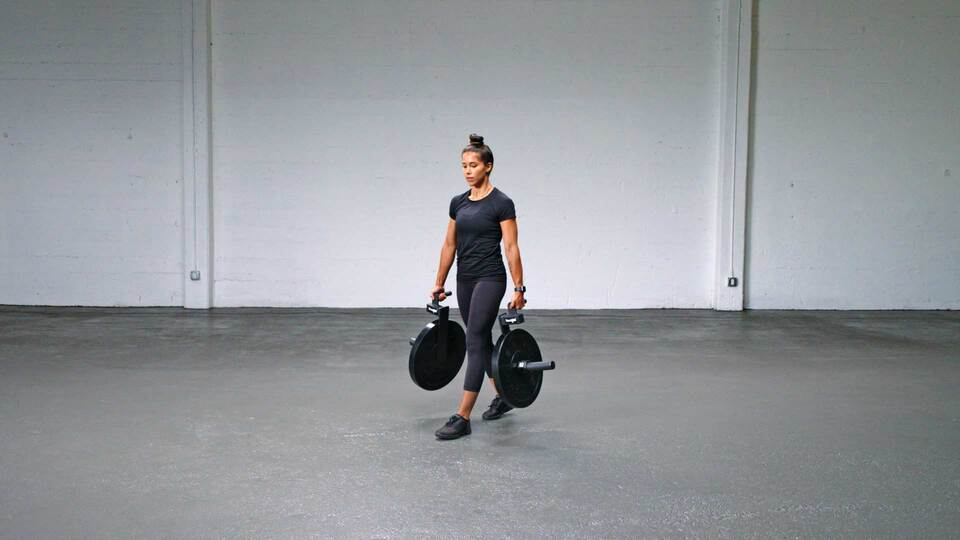
The farmer’s carry is a simple but effective exercise that builds full-body grip endurance—critical for long sloper-heavy routes. It targets your forearms, shoulders, and core, all while improving your ability to hold a strong grip under pressure.
- What you need: Two heavy dumbbells, kettlebells, or even large water jugs.
- How to do it: Hold a heavy object in each hand, arms straight at your sides, palms facing your body. Stand tall, engage your core, and walk for a set distance or time. Keep your grip firm but relaxed—don’t squeeze the objects too hard.
- Sets & reps: 3 sets of 40–60 seconds (or 50–100 feet). Rest 30–45 seconds between sets.
- Pro tip: Keep your shoulders back and your core tight to avoid leaning forward. If your grip starts to fail, lower the objects slowly—don’t drop them.
Key Tips for Training Grip Strength Safely
Grip strength training can be hard on your forearms and fingers, so it’s important to train smart to avoid injury:
- Avoid training grip strength two days in a row—forearm muscles need 48 hours to recover.
- Use chalk to keep your hands dry (friction is key for grip, even during training).
- Don’t overdo it—if your forearms feel tight or painful, stop training. Overtraining can lead to tendonitis.
- Pair these exercises with core training (planks, L-hangs) and leg exercises—full-body strength helps you maintain tension on slopers, reducing strain on your grip.
Final Thoughts: Build Strength, Then Apply It
These 6 exercises will help you build the grip strength you need to tackle slopers with confidence, but remember: strength alone isn’t enough. Pair your training with the sloper techniques (open-hand grip, body position, footwork) to truly master these challenging holds.
Be patient—grip strength takes time to build. Start with lighter weights and shorter hold times, and gradually increase the intensity as you get stronger. Before you know it, you’ll be holding slopers that once felt impossible, and sending routes you used to avoid.
Now grab your chalk, hit the gym (or the wall), and start building that sloper-ready grip. Happy climbing!